EN
 ES
Shopping Cart
Your Cart is Empty
$0.00
View Cart

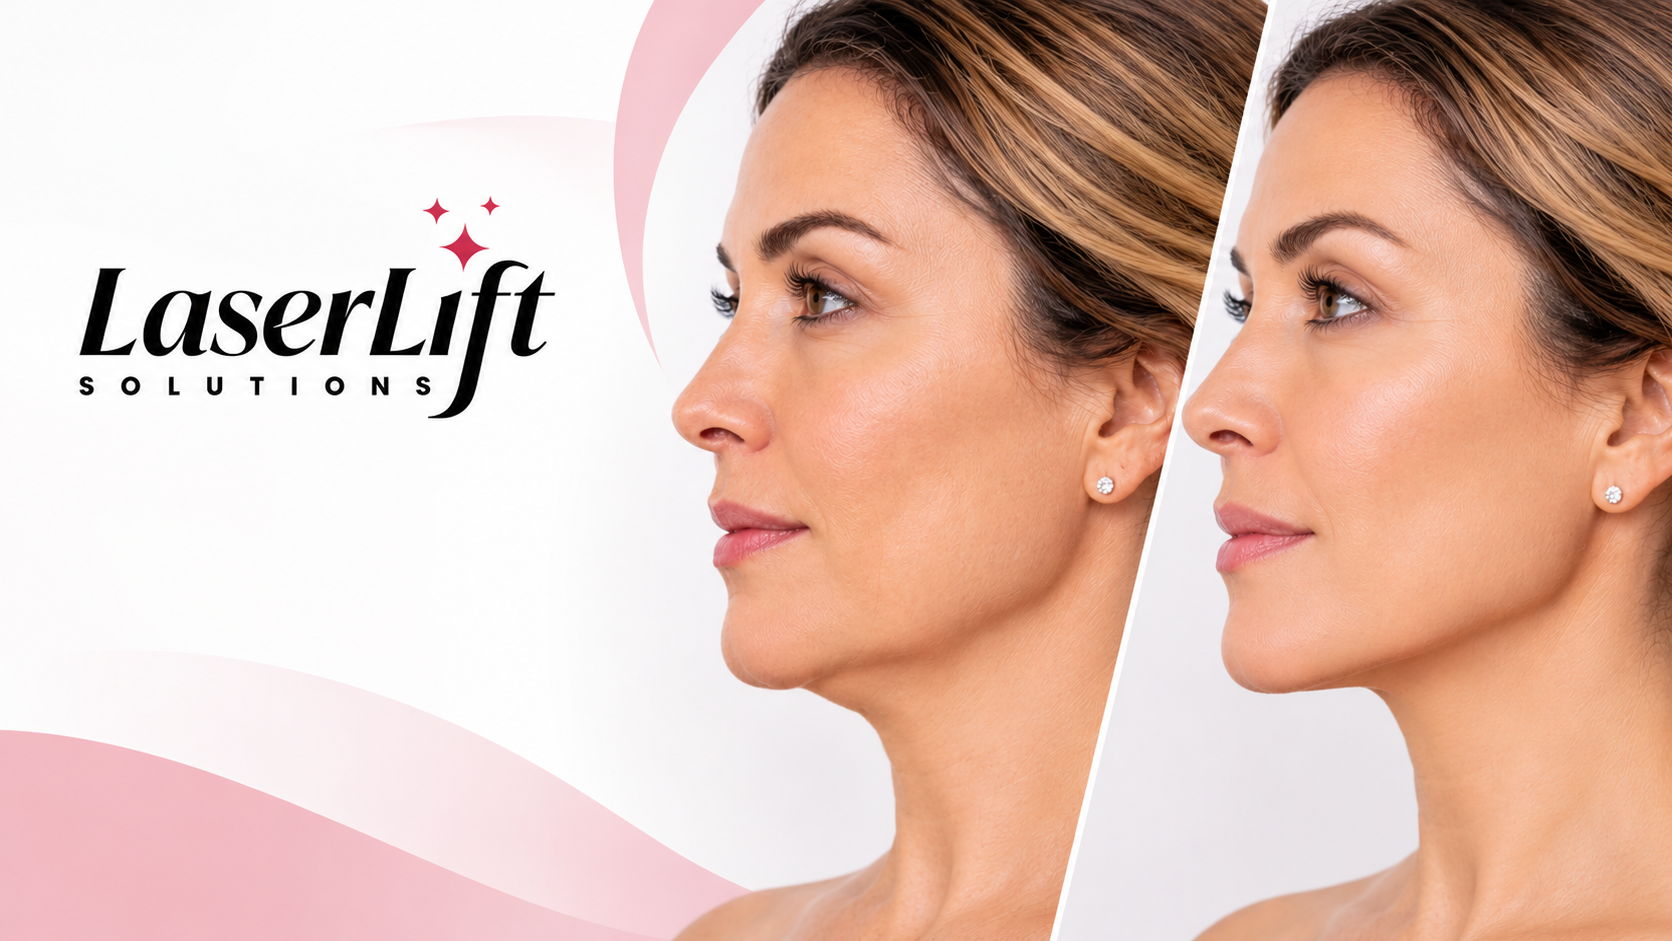
Endolift before and after photos can help you decide what to ask at a consultation. Their value depends on how they were taken and what happened between them. Before focusing on a sharper jawline or a smoother neck, check the treatment details, follow-up date, lighting, and position.
A useful comparison makes those details easy to find. It also gives you enough context to discuss whether the patient's starting concern resembles your own.
Use the six checks below when reviewing results online or with a provider. The aim is to arrive with a better question than, “Can you make me look like this?”
Start with the facts: which area was treated, how many sessions were performed, and whether the patient received Endolift alone. A photo labeled “facial rejuvenation” leaves too much open to interpretation.
Ask about filler, threads, surgery, or other procedures performed between the two photographs. Those details help you understand the complete treatment plan and which changes the provider attributes to each part of it.
If the caption omits the treatment history, save the image and ask for context before using it as a reference.
An image taken immediately after treatment and one taken months later document different stages. Endolift uses a fine fiber to deliver laser energy beneath the skin, and the appearance can change as swelling settles and tissue remodeling progresses.
LaserLift Solutions' Endolift FAQs describe results developing over several months. Look for the actual follow-up interval on each case rather than assuming every “after” image represents the same point in recovery.
Ask whether later photographs are available and when the clinician would assess your own result. The date provides context; it does not guarantee a particular outcome.
Look at the direction of the shadows under the jaw, beside the mouth, and across the neck. A brighter frontal light can soften shadows that a stronger side light makes more obvious.
A study of facial photography and light angles examined how lighting changes aesthetic perception. This matters when the feature you are judging is partly defined by light and shadow.
Favor comparisons with similar light direction, brightness, and background. A dramatic change in the whole image's exposure makes subtle contour changes harder to assess.
In jawline and neck photos, compare the chin's height, the direction of the gaze, and the degree of neck extension. A slight change in posture can alter how much fullness appears beneath the chin.
Research on nonstandardized facial photographs found that changes in patient positioning can substantially change the apparent jawline and under-chin contour.
Check whether both photographs show a relaxed, comparable position. For body photographs, apply the same principle to stance, arm position, and muscle tension.
A close-up before image and a more distant after image can be difficult to compare. Look for similar camera distance, framing, facial expression, and visibility of the treated area.
The clinical photography standards described in procedural dermatology emphasize reproducing photographic conditions so treatment outcomes can be assessed more accurately.
Heavy makeup, smoothing filters, or retouching may obscure the skin detail you are trying to evaluate. Privacy cropping can be appropriate, provided it leaves enough matching anatomy visible to judge the area.
A side view may show a change beneath the chin that is less apparent from the front. Front, angled, and profile views can help you see how a contour looks from different perspectives.
The published proposal for aesthetic photography standards explains why consistent camera perspective and photographic conditions matter. Compare each before image with its matching after view.
Then look for cases with a relevant starting concern. Ask the clinician which similarities matter and which differences could affect the recommendation for you.
A clear comparison can document an individual patient's visible change at a stated follow-up. It gives you a concrete starting point for discussing contour, skin laxity, and expectations.
Your provider still needs to assess what contributes to your concern. Loose skin, localized fullness, and volume loss raise different treatment questions. A photograph alone cannot establish which is present or determine the appropriate plan.
Review the treatment areas offered by LaserLift Solutions, then use relevant examples to discuss your starting point. Keep the conversation focused on the concern you want evaluated.
Even clinical reviewers can interpret the same photographs differently. A 2026 retrospective series of 22 patients assessed photographs three months after 1470-nm interstitial laser treatment. The two dermatologists' ratings differed, and the authors reported that the estimated degree of improvement depended on the assessor.
That small study helps explain why a photo deserves context. A 2025 systematic review of Endolift evidence also identified substantial limitations in the available research, including high risk of bias and inconsistent treatment parameters.
Use published results and patient images to frame a discussion about expected benefit, uncertainty, and risk. Ask your clinician how the evidence relates to the area and treatment plan being considered.
Save a few examples and note what caught your attention: less fullness under the chin, a more defined jawline, or a change in skin laxity. This gives the clinician a specific goal to assess.
Useful questions include:
Was this Endolift alone, and how many sessions were performed?
How long after treatment was the final photograph taken?
Which features of this patient's starting point are relevant to mine?
What degree of improvement would you consider realistic for my concern?
What risks, recovery needs, and alternatives should I consider?
Request an explanation of the recommendation, including its limits. A useful consultation connects the example you brought with your anatomy, health history, and priorities.
It shows an early stage. Ask for the photograph's date and later follow-up images so you can discuss how the appearance changed over time.
Ask for the complete treatment history and sequence. A combined result needs to be discussed in the context of every procedure performed.
Bring unfiltered images if you have them. Your clinic can take baseline photographs under consistent conditions and explain how follow-up images will be matched.
A similar photograph cannot predict your outcome. Clinical assessment is needed to evaluate the concern, suitability, likely benefit, and risks.
Bring your reference photos and your questions to a LaserLift Solutions consultation in Miami. Discuss whether Endolift fits your concern, what a reasonable goal would look like, and how your progress would be documented.
Request an appointment here: https://mynuceria.com or call Nuceria Health at (305) 398-4370 for an appointment in our Miami office.
Check out what others are saying about our services on Yelp: Wellness Center in Miami, FL.